Monday, August 30, 2010

Accessories on Etsy

Shop Update!

I have been on FIRE today with my to-do list, and actually surpassed it in a few areas today. I FINALLY got around to taking good pics of the black flower pins that I made ages ago and listing them. I have 2--one with purple beads and one with green--and they're just as gorgeous as ever!

Actually, as is the case with the Autumn Blossom Brooch, it's probably a more appropriate season to list them now than when I actually made them, so my procrastination might not be altogether bad this time.

And, because I LOVE LOVE LOVE it so much, I made a Black Satin Beaded Cuff to list in the shop.

I think I like it better than the one I made myself (that always happens! you make something, then you make more, and you get better and end up with the "practice" piece for yourself!!). I'm still keeping up the listing for a Custom-Made Cuff, of course, because this is a great way to make a gorgeous, personal accessory.

Wednesday, August 25, 2010

Aaaaas Yoouuuuuu Wiiiiiiish!!!

My good friend decided to have a themed birthday party for her big three-Oh. The theme? Movie characters from the 1980s. Even tho the party had been planned for months, I only decided who Hubby and I would be about 2 weeks before the big event: Princess Buttercup and the Dread Pirate Roberts from The Princess Bride.

The back story:
My 6 month preggo belly looks more like 8 or 9, so I needed something that would either hide or incorporate my planet. I thought that Princess Buttercup's empire-waisted dress would hide it, but after looking at the pictures from the party, I was clearly WRONG!! I just look like a pregnant princess, huh? :D The good news: 1- it's a beautiful costume that you can wear even if you are obviously up the duff; 2-it was incredibly easy and CHEAP to make; and 3- Nick and I both won best costumed characters at the party, so I wasn't totally wrong when I thought they were great costumes. :)

Let me just say, I am WAY more impressed with the Dread Pirate Roberts' costume than I was with mine. First, the shirt: I had never made a proper shirt collar, cuffs, lined neck opening, or poofy sleeves. In fact, I don't think I've even seen pattern pieces for these things, to know what shape they should be. Using only a button-down shirt that fits him as a size guideline, I was able to freehand the entire piece, and it fits him PERFECTLY! I am officially impressed with myself. lol He wore black leggings (the shirt is a little long, so his tush wasn't hanging out too badly), and for the tall pirate boots, I cut the legs off of a pair of black pants, finished the edges, and folded the tops over to make tall spats, which he wore over black shoes. The skulk cap, eye mask, and the sash he wore around his hips to keep his sword in were all varying rectangular dimensions of stretchy black fabric. And that's all! The only "difficult" part of the whole outfit was his shirt, which wasn't too bad itself because I looked up a good tutorial as a guide. Oh, and the sword! Dowel rods that I spray-painted silver and wrapped picture-hanging wire around. And he looked FABULOUS!!

My costume was incredibly easy. Here's the dress it's modeled off of:

And here's what I did:
A peasant-style dress cut floor-length, a length of fabric for the cape, a bodice made from a dress pattern that I already had, arm bands, and $2 Salvation Army gold ballet flats. Oh yes, can't forget the spray-painted BK crown with hot-glued trim. Lovely!

I wanted to make this post in case I'm not able to talk more about costuming before Halloween. I LOVE making costumes, and perhaps this will give you some ideas for the upcoming season. And, if you're sporting a baby belly, some hope that there are, indeed, costumes you can rock out in, comfortably and stylishly!

*IF* anyone wants a few quick tutorials for these costumes, please let me know (like... leave a comment!). I'm playing with the idea of how-tos for them. Anybody interested?

Monday, August 23, 2010

Tag! She's It...

Little Miss will be attending her first day of preschool on Thursday, and in preparation I have made her a very unique name tag for her not-so-unique Disney princess backpack which, I have a feeling, won't be the only one of its kind in the cubbies this year.

I haven't yet, but I plan to print our home info on transfer paper and iron it to the back.

I have this idea that, as she gets older, I'm going to teach her to have her own sense of style and not to be a slave to fashion trends--and, therefore, the trendy price tags that go along with it. I realize just how far-fetched this idea might sound, but I'm sure gonna try! Starting now, we'll at least mix in some nice handmade items into her wardrobe. And we'll see how that goes once the designer labels become a bigger deal, as she gets older. Wish me luck!

Thursday, August 19, 2010

Scissor Organizer

What I have done this week is absolutely NOT limited to this small project, but you'll have to wait for next week to see the full extent of my busy-ness from the past 2 weeks. In the midst of the big projects, I couldn't shake the need to make this scissor pocket organizer I saw on One Pretty Thing. I whipped this one up without reading the tutorial on Expect Moore, which I should have read because I like hers much better. Mine was probably a little easier, but hers is more compact and cuter. Oh, well. It still holds scissors, and anything else I care to slide down into the pockets.
This is actually sort of a project for the men in my life. To start with, the scissors are the first thing my ornery 18 month old son goes for when he sees Mom's sewing table unmanned. Now they're high on the wall--how handy! And secondly, dear husband doesn't know where any scissors in our house are, ever. Now I can say, "Upstairs in the sewing room, hanging on the wall above the drawers on the desk--and DON'T use the red ones!!!" :)

So, here's what I did:

1. I used a scrap off a denim skirt that I shortened for a friend for the back, and 2 Salvation Army cloth napkins for the pockets. They were something like 25 cents each. Might have been 10 cents each, but for the sake of overestimating and still being proud of myself, I'll say 50 cents total. I folded the napkins in half and ironed them flat, then stitched the long sides closed along the edge.

2. I centered the napkins onto the denim, pinned, and stitched around the sides and bottoms. Then I divided the napkins into equal sections--4 on top, 5 on bottom--and sewed a straight line to form individual pockets.


3. I folded over about 1.5" on top and stitched it down. If I want, I can run a dowel rod thru here. However, even a dozen pair of scissors aren't too heavy so I didn't mess with finding a rod this time.

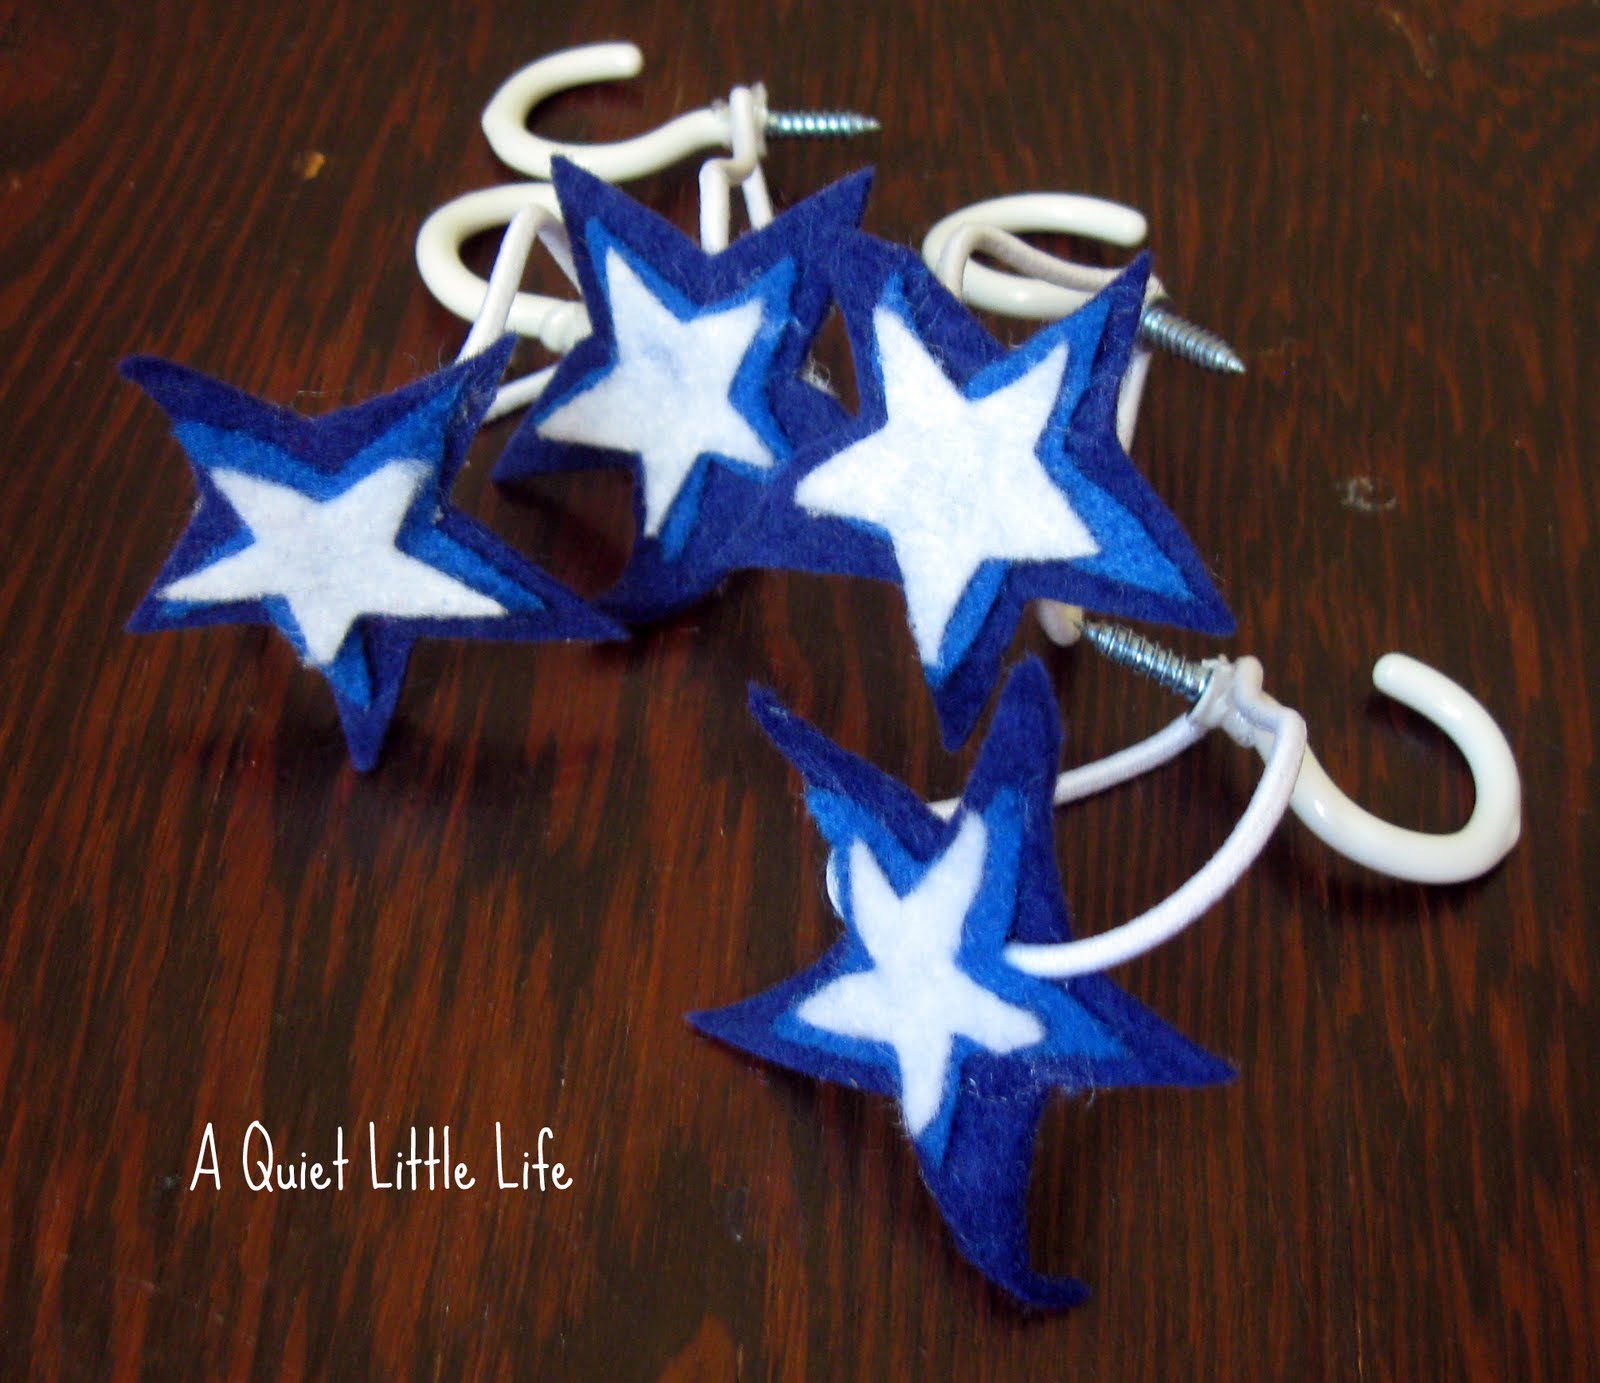
4. Because I was skipping the rod option, I grabbed a ribbon scrap, cut it into 3 equal lengths, folded it over like an awareness ribbon, then pinned and stitched it to the top edge of the organizer. Make sure all your loops are of the same length, or it will be tough to hang it evenly.

In order to keep the option for a rod open, I didn't sew it onto the tube. I put my stitches even with hem.

Hang it, load it, and you're done! I didn't even bother finishing the edges. I mean, it's denim. Who cares?? :P And I tacked down the bottom corners with thumb tacks, just because.
This is an excellent, excellent beginner project, and a very good way to solve an organization problem with very little monetary and time investments. This whole thing might have taken 30-45 minutes, and wasn't more than 50 cents! I didn't have to finish any edges or do any real cutting, of course, but if you go thru your scraps, you might find that you don't, either! :D

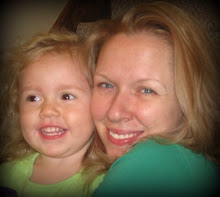
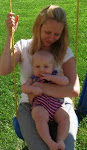
And here's a bonus pic, because it's the first belly picture of me during this pregnancy. This was at 10:30 pm, so please forgive the hair and makeup and PJ situation. 26 weeks. And yes, there's only one in there.

Sunday, August 15, 2010

Etsy Shop Update: Satin Rosette & Peacock Feather Cuff

Here it is:


My parents have peacocks* and my mother is kind enough to pick up after them as their feathers fall out. Somehow the bag of feathers kept getting closer and closer to my bucket of beads and bracelet supplies, until I finally put two and two together and cranked out this beautiful piece which is, honestly, a little hard to sell! It's stunning, and I plan to make one for myself when I have more time.

I absolutely love it, which means that you're sure to as well. And that's why I've added it to my Etsy shop!

Happy Shopping!

*Back story on the peacocks: My parents did not choose to have these noisy birds. The thing is, they feed their flocks and their new neighbors do not. That's how you acquire a number of animals who are capable of wondering the countryside! By simply taking care of their own poultry and fowl, they are now the caretakers of these majestic, albeit LOUD, peacocks who leave their beautiful feathers all over the place. And that's how I got them! So, rest easy knowing that no animals were harmed in the acquisition of these crafty accents. Much to the contrary--they are spoiled rotten. :D

Saturday, August 14, 2010

Etsy Shop Update: Custom Made Beaded Cuff

This project was one of much creative searching, inspiration, contemplation, and inner reflection. It is incredibly unique and made especially to match the funkier side of my personality, and I just have to say, it absolutely does. And it pleases me to say, it's BEAUTIFUL!

Because it has made such an impression on those who have seen it--and one friend in particular who received one as a gift--I have decided to update my Etsy shop with a listing for Custom Made Beaded Cuff Bracelets like this one.
No, it's not inexpensive, but they take at least 8 hours to make and are something so unique and expressive that there is no way you'll not LOVE this!

Here are some pics of the 2 I have made in this fashion so far.

The great thing about these bracelets is that they can come in any color and they're so personal when your own trinkets are thrown into the mix.


Not to mention that you will NEVER run into someone wearing the same fashion accessory! :D

Wednesday, August 11, 2010

My Charlie, brought to you by BurdaStyle, Free of Charge!

I have found Burdastyle.com to be helpful on more than one occasion; from techniques and tutorials to free patterns (as well as ones you pay for) and a great community, they're just great all around.
One of their free patterns is for the Charlie Bag, which was originally meant to be a stylish reusable grocery bag. I loved the look of this bag, so I used it to make a large trendy tote.

I also ran up a matching envelope that I wanted to be the right size for a few diapers and wipes, but it's way too big so it'll store a change of kids' clothing, too. Which is okay, because the bag is pretty big, so it all fits!

I couldn't be happier with this bag set, and perhaps the best part is that the fabric to make it--between the Salvation Army and the Evil Empire--was less than $4.50!!
Hey, ya know, I think that may be a little expensive compared to my usual projects!! :D

Monday, August 9, 2010

My No-Brainer DIY $5 Window Treatments

I can't say that this is anything spectacular but it looks good, was insanely cheap and easy, and gets the job done! My 18 month old son was up with (or before) the sun, so I needed a very dark window covering. Because I am me, I didn't want to spend any real money on it. So here's what I did:
First I bought two very dark blue twin flat sheets at the Evil Empire (that's WalMart, of course) for $7 total. Their length and width was exactly what I needed, when turned sideways, for the dimensions of the windows (one sheet = two curtain panels). When cut in half, I needed to only hem one side of each panel, and was able to use the other hems as already finished edges. So, no work there!
At the top, I folded over a few inches and stitched it to make a tube for the rod to go thru. I could have gotten fancy and added a ruffle at the top by simply adding one more straight stitch an inch or so down from the top, but I chose to be lazy. :)

Because I didn't want my darling husband to be pulling on the rods every time he wanted to open the curtains (the sunlight is good in this room when the curtains are open, so we don't need the lamp on all the time) I made some very easy-to-use tie-back hooks. This was the fun part:

First, I invested in 4 mug hooks. TIP: Cup hooks, which are a little small and cheaper, may have worked a little better. I originally wanted to put them on the side of the trim, but the size made it impossible to screw them in. Then I took felt scraps, cut out star shapes in graduated sizes, glued them on top of one another, and glued an elastic hair band to the back. I glued another felt strip over the band on the back for stability. Finally, I glued the elastic band to the hook so that it wasn't always falling off.

Then I drilled a tiny hole in the wood and screwed the hook in by hand. (Instead of drilling, you can hammer a tiny nail into the wall and then remove it to make the pilot hole.)

Now, whenever we need it to be dark we let the curtains hang, and when we need some light we use our elastic loops to hold them open. So easy! And cheap. And fun. And, if you can find a used sheet or curtain or material to use, it'll be green, too!

I'm overestimating the total cost at $5 per window. It's probably more like $4, but I can't find my receipt for the hooks, and we'll just say $5 in case you're buying everything new.

Thursday, August 5, 2010

Etsy Shop Update

And it's about time!! My Etsy shop has been neglected since we stuck Bun #3 in the oven; darn those hormones! I have been busy with a few different endeavors this week, and this one will go in the shop.
It is a microsuede appliqued cuff bracelet with a velcro closure, measuring 9" x 3".
Perhaps the best part: it's upcycled!! Remember this??

A small part of it (that flower on the sleeve) is now....

Monday, August 2, 2010

Don't Forget!

I have been forgetting to advertise as much I need to, but my Etsy shop has a super clearance sale going on. Help me unload my handmade goods with FREE SHIPPING! Read a summary in this recent post, or simply visit the Clearance section of www.MRSdesigns.etsy.com