Saturday, March 5, 2011

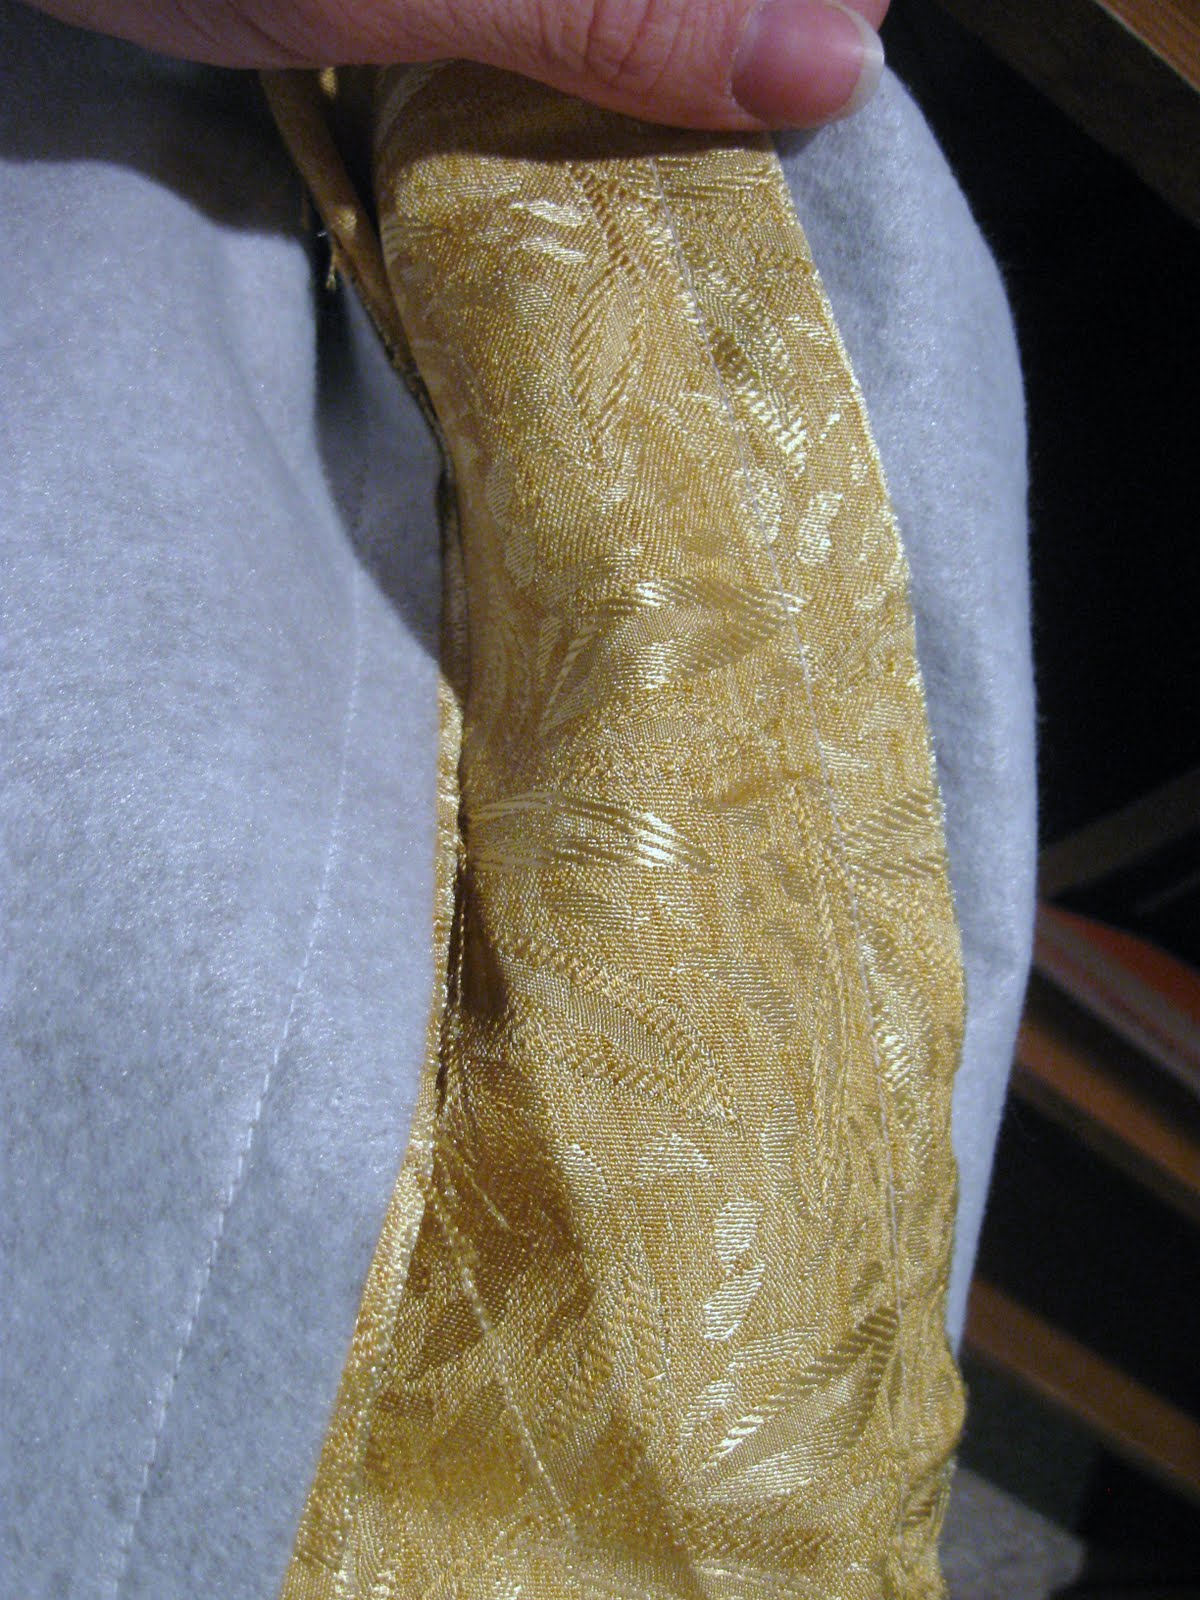
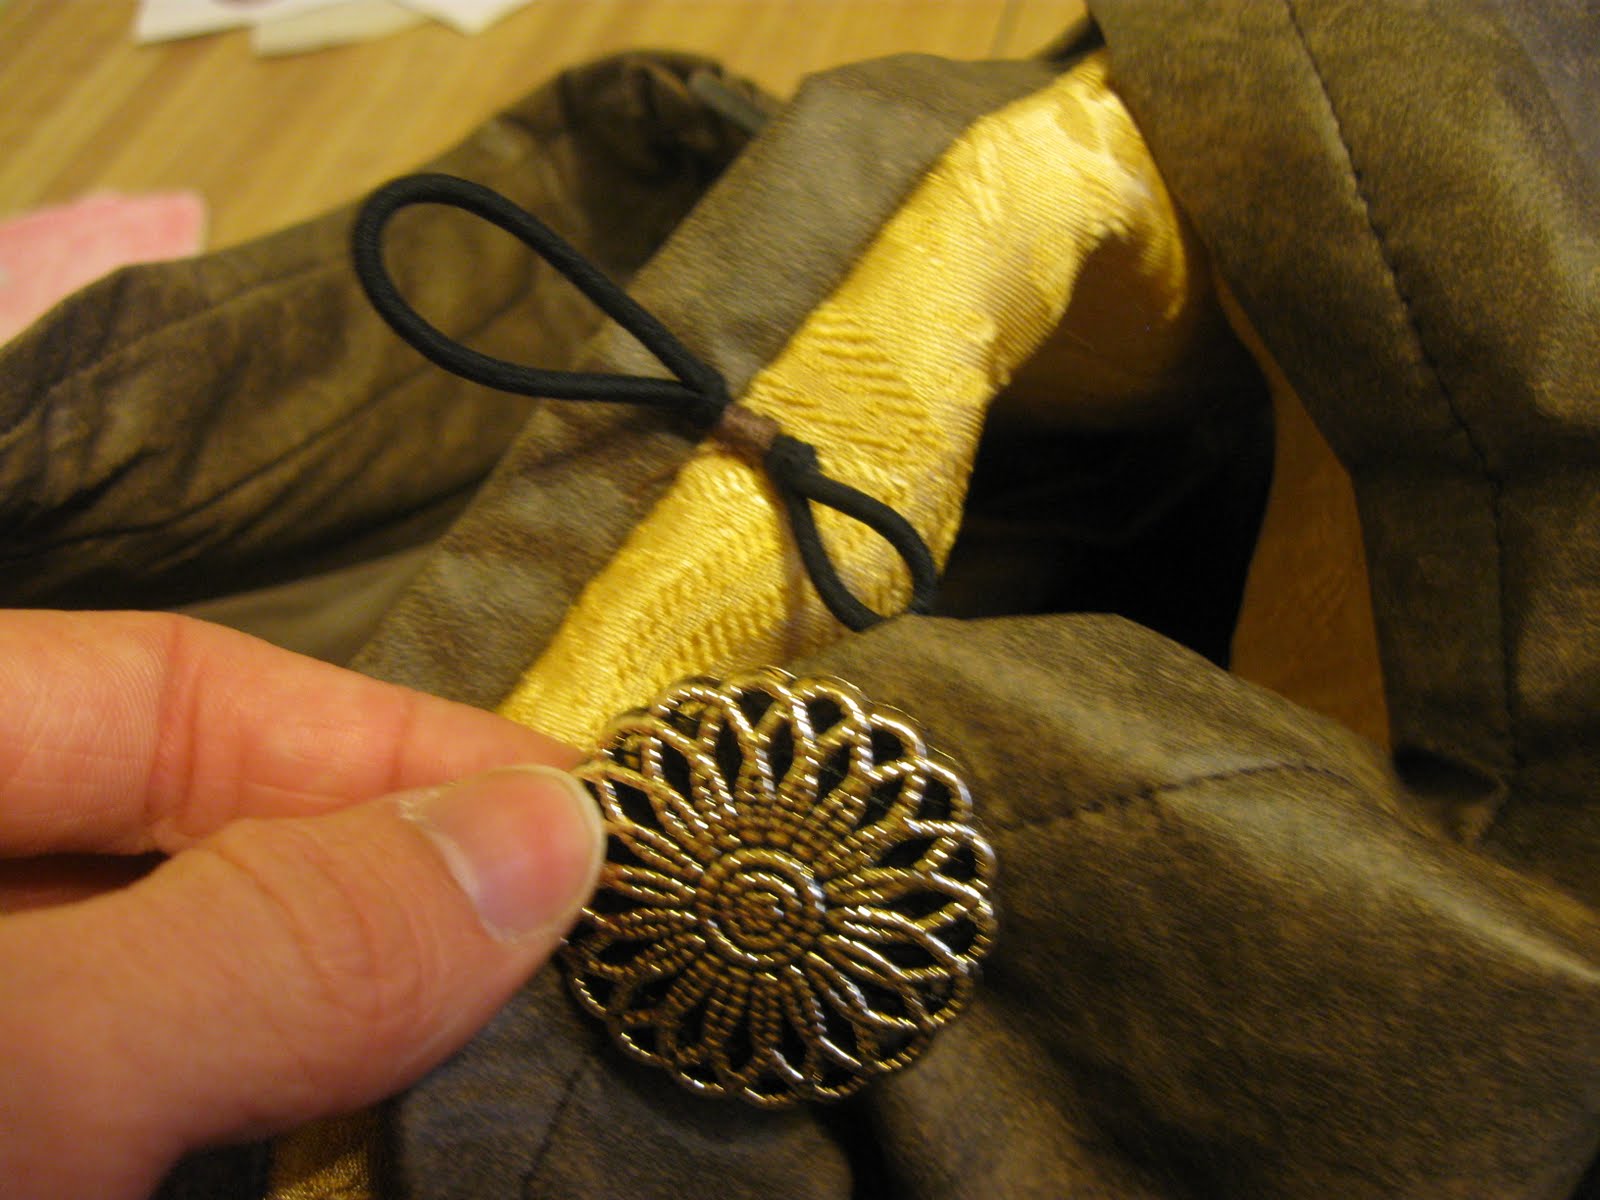
Picture Tutorial: The Basic Shoulder Bag

I want to try a wordless tutorial.
Let me know if it doesn't work out (not sure what skill level this is good for).
Also, post any questions in the comments, and I'll be happy to answer them!


Friday, February 25, 2011

Off the Couch

Perhaps I should call this post, "Nursing on Demand for a Less-Demanding Baby", or, "Bigger Tank = Less Fuel Stops". Either way, being a slave to the baby is becoming a little easier, as these things usually do, and I'm finding a tiny bit of time for sewing. Now that I think about it, it most likely results from a long list of factors including, but not limited to, husband is gone during the week, craft room is actually a toy room where the most fun toys live, and a major seasonal/nursing-friendly clothing shortage. My closet is starving!

I'm pretty pleased with this project and I wanted to share how I did it. Partly because I love how it turned out, partly because I want to show people how easy it can be to make awesome clothing from just about anything, and partly because I'm awfully quiet these days and need something to talk about. I know I haven't been here in a while when I type in "aqui" in my address bar and nothing auto-fills in! Anyway, here goes...

My lovely and amazing friend Jess Z gave me the top of a 2XL wrap dress after harvesting the bottom for a skirt. It's an absolutely BEAUTIFUL color of blue, but a bit too big, so I started with downsizing. First, I overlapped the ends to make it a wrap top (they were just hanging loose from the harvest), pinned it to cover the girls, and took in the side seams under the arms. This turned it into something more like a Medium.

I rifled through my fabric stash and found this stretchy, drapey polyester with some accents that are the same color as the top. I measured out my hips, cut a long rectangle that was a few inches longer than my hip measurement, sewed the short ends together, and gathered the top edge. I didn't hem the bottom because this type of fabric doesn't unravel or fray, and I'm generally lazy and like shortcuts. :D Then I attached the gathered end to the bottom of the wrap top.

My fantastic and talented friend Shirley gave me a bolt of gunmetal gray taffeta that I've been dying to use. I wanted to use it for the skirt, but it has no give so it didn't work (the girls are big and finicky these days, and refuse to be *squeezed* into anything that doesn't stretch to accommodate). But it was the perfect color and texture to use for the belt. It didn't take much. I made a back piece (like a regular strap, about 1.5" - 2" wide when finished) that was about 14" - 15" long and tacked it down to the side seams. I then made another piece, probably around 20" long, and, by trial and error, figured out the right places to attach it to the dress (at the side seams) and the belt buckle so that I could get in and out of the dress. I tacked the belt down in the middle of the top to keep it from drooping once on, which may not have been a problem if the belt buckle weren't so heavy (I didn't want to use loops because I wanted to keep my taffeta smooth and without loose ends). Because I didn't attach it all the way around, the dress has enough stretch that I can unbuckle the belt and have enough room to get into the dress.

My favorite part? The whole thing was virtually free. The top was gifted, the taffeta was gifted, the skirt fabric was either gifted or part of that huge, incredibly cheap stash I bought at an estate sale, and the buckle was harvested from a Salvation Army belt that couldn't have cost more than $1. This is a PERFECT example of what you can do when you rifle through the sale racks... at home. :) It looks different on me than on the mannequin, of course, because I'm not half a person and because I'm not a size -4. The belt goes around my ribs just below my bust line, like a bra does, and I will have to wear a cami underneath to keep my dignity. But I cannot wait to wear this over leggings!
Monday, February 7, 2011

Etsy Shop Update: A Wristful of Roses

Well, here we are, Oliver is almost 3 months old and I'm not nearly as UNproductive as I thought I'd be! The kids and I are still at home by ourselves during the week, so I should have a little more time to focus on my creative activities, right??? Ah... That's really funny. :)

Rather than list all the reasons why I have less time for "fun" than ever before, I'll just get down to business--this is what I've been up to after everybody's in bed for the last 3 weeks.

Aren't they beautiful???

They're evolving.


And they're listed!

Thursday, January 6, 2011

Quick Update

There are tons of things happening here, but none that have been documented lately. :P

To begin with, we survived Christmas. I'm assuming most of you did, too, and those who know what traveling and celebrating with 3 under 4 is like can appreciate why this is worthy of reporting!

The kids got so many gifts that they're not even all opened yet. Not because I'm mean, but mostly because...

We're moving!
As soon as our house sells we're relocating to the Columbia, Missouri, area. This will get us closer to family. And it's a great area, so as much as I don't like moving, it'll be a good one for us. Finally, the roots can go down and we can officially unpack all the boxes! This will be the 6th move in 4 1/2 years (7 moves if we have to get into a rental first). I'm ready to be done with it!

Oliver's first official social smile showed itself at 4 weeks, and at 6 weeks it's coming easier and more frequently. The secret is making smoochy noises into his little mouth and on his cheeks, and he does this:

And if you keep working at it, it gets bigger:


My older two are doing great, too, even with the hacking cough and dripping nose they're sporting these days. And we're getting through Hubby only being home on weekends (he's already started his new job 2.5 hrs away). I'm insanely busy, trying to ready the house to sell and purge and keep up with it all, by myself. It's battle: me against the kids! We take it day by day. As anticipated, my Etsy shop is taking a temporary back seat to life for now. I'm hoping that keeping it in the forefront of my brain will get me back to it quicker, once we figure out a new "normal" with 3 babies and a new house. Wish me luck!

And there you have it. Fun, eh? :) Happy New Year!

Monday, December 6, 2010

Tutorial: Boxes!

Who would have thought that I'd have time for a tutorial?? I didn't even think I'd have time to scratch my nose these days, but somehow it occurred to me to photograph this quick project. Okay, so it's not a hard project, but still...

See, here's the thing: I HATE spending money on disposable things!! And I feel very warm and fuzzy about reusing materials. This adds up to, among other things, reusing packaging materials to mail my Etsy orders (most of the time). MOPS (Mothers of Preschoolers) recently sent me an envelope of goodies that was reinforced with two 8.5" x 11" (notebook paper sized) cardboard sheets. I decided to try to make a box out of them, as they were pretty sturdy pieces of cardboard. And here's how it went:

Your finished box will be about 4.5" x 7" x 2" when using 8.5" x 11" sheets and following these measurements.

Start with 2 sheets of cardboard. Mark lines 2" in from all sides (2 inches is the depth of the box--change that as you please). Cut one side of the square in the corner, on all corners.
Be uniform in your choices of which side to cut. It'll look better that way.

Fold on the lines so that your sides come in toward the middle. Fold the corner flaps in, like in the photo.

Apply a good amount of hot glue or other strong glue (especially if you're mailing this box) to the inside of the corner flap.

(Folding to the inside or outside works--I just thought this way seemed more stable.) Hold the flaps down tightly until the glue hardens. Repeat for the remaining 3 corners. Be uniform on all corners.

Repeat all steps with your other sheet of cardboard. There is a VERY tiny (1/8" or less) difference in the size of the boxes. To make this difference, just move your lines in about 1/8" more from the edge of your second box. This will allow one to fit inside of the other, giving you a top and a bottom.

And there you go, a completely free, eco-friendly, customizable box!
Wrap it up, cover it with fabric, stamp it, paint it... whatever suits your cause.

So I'm thinking that using greeting cards could make adorable small boxes, and cereal boxes are probably the perfect size for this project. But really, it's a great way to reuse just about any pieces of cardboard that's big enough to fold up. It's fast, easy, cheap--oh, there's a very inappropriate joke in there somewhere... Anyway, I love it, so I just thought I'd share.

Happy Holidays!