I want to try a wordless tutorial.
Let me know if it doesn't work out (not sure what skill level this is good for).
Also, post any questions in the comments, and I'll be happy to answer them!
Let me know if it doesn't work out (not sure what skill level this is good for).
Also, post any questions in the comments, and I'll be happy to answer them!


5 comments:
For the most part, I get the jist of it, but it's hard to catch all the idiosyncrasies without going through it several times. And it's hard to tell what the initial size of the material is. I'll admit, I like being walked through it. :)
Thanks, Jen! Would better pictures help (I did the whole thing at night so there was no natural light)? Do you think this would work with a simpler project, or should I just suck it up and write it all out? :)
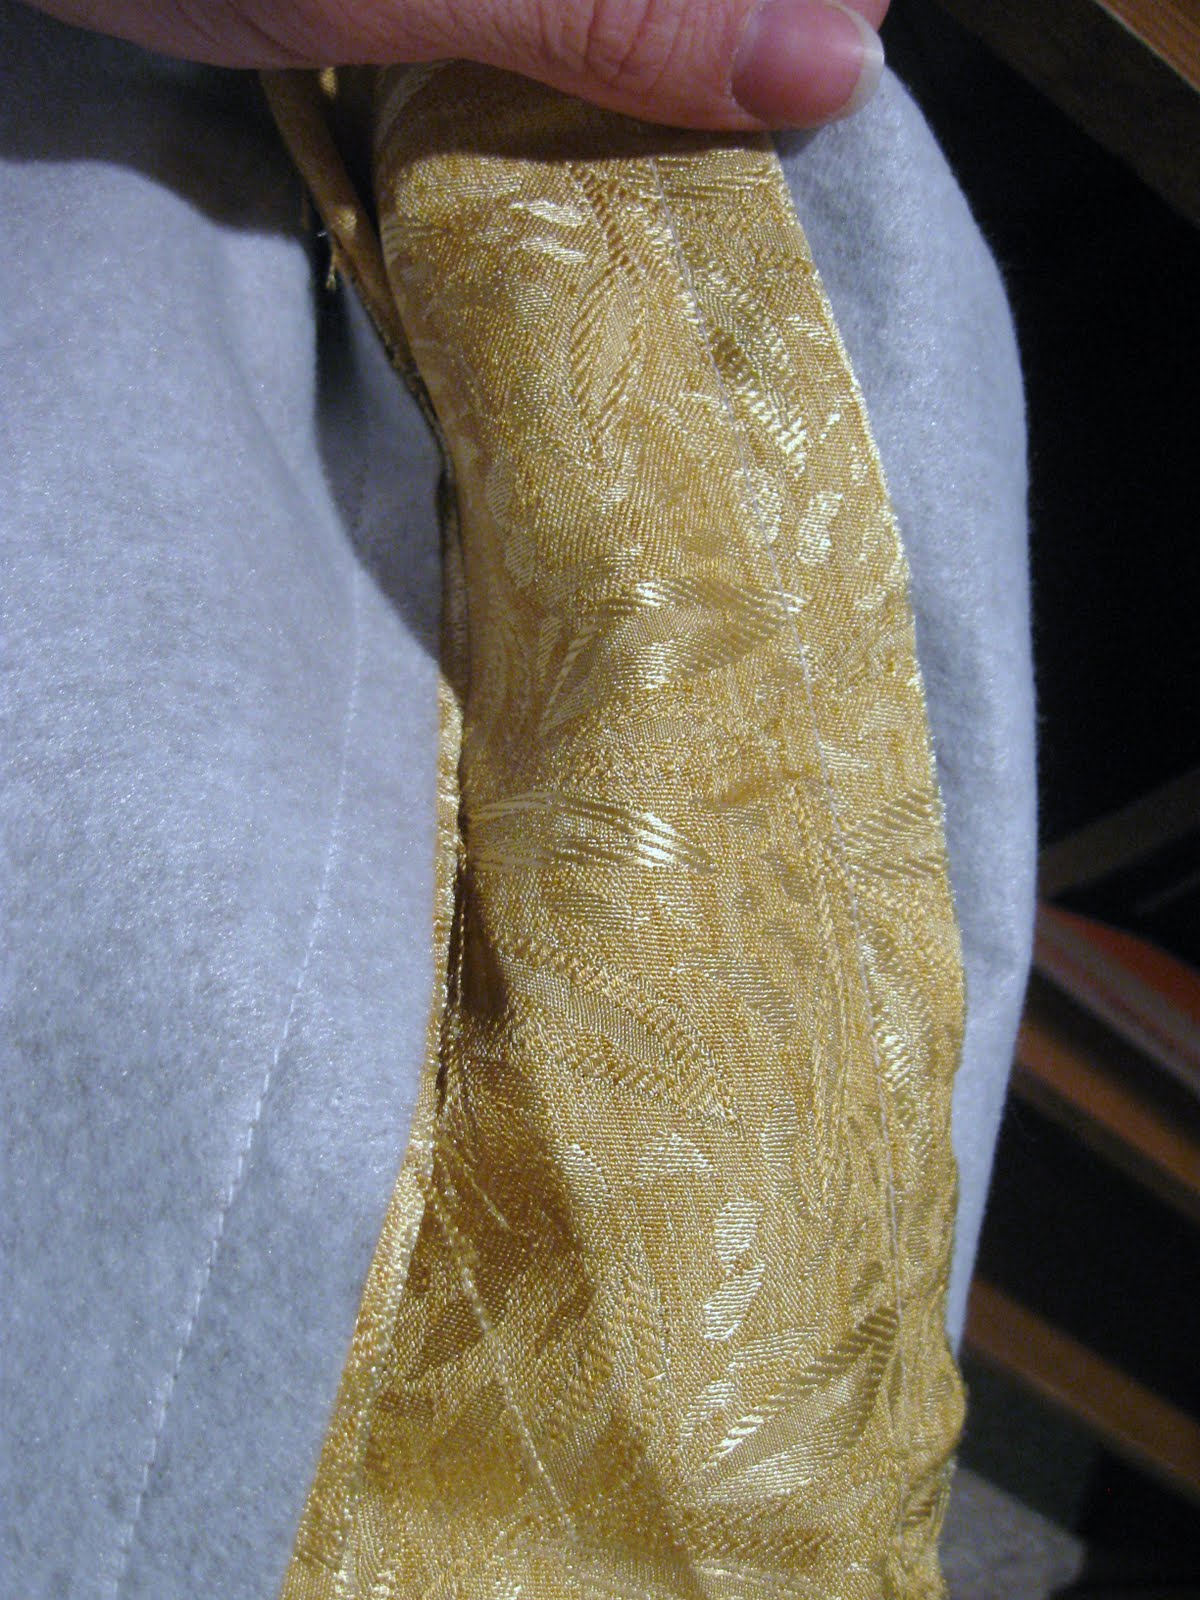
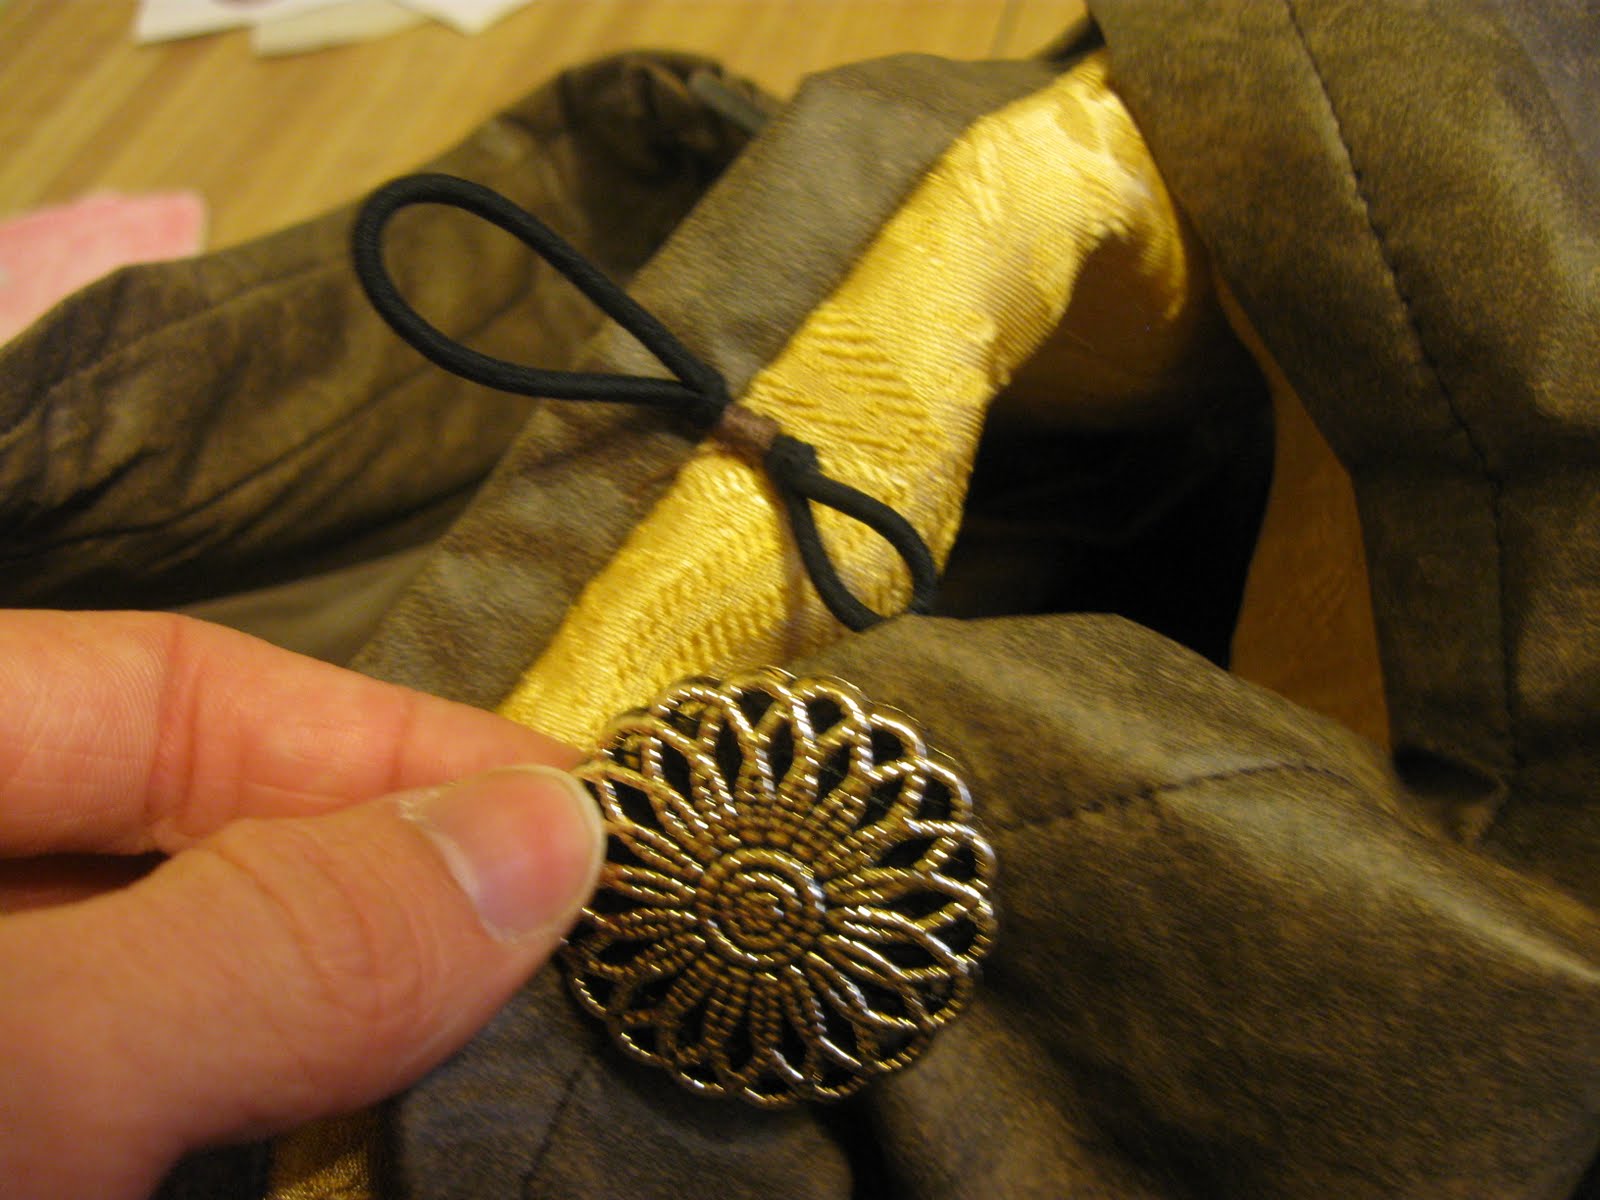
Once I clicked on the pics they were big enough to see the measurements. But would you post just little tidbits about how much fabic you needed for the total project, how you did the end of the straps (I think I know how you used the hair clip but am not sure), and how you attach the little hair band thingy for the button? The rest of it is pretty explanatory in the pictures. Thanks!
Sure, I'll definitely keep that in mind for next time. And for this time, I can tell you that [I think] I started out with half a yard of the vinyl and I used a little less of the gold lining (pulled that off the bolt at home, and didn't measure). The rings were harvested from a Salvation army belt, and the button and band were just sewn on with a simple... idk, whip stitch? Not sure what to call it--in and out, in and out, nothing fancy. HA! There's a joke in there somewhere... This ended up being a bigger bag, but you can make it any size. I guess that's why I didn't feel like I needed to go into any detail for the size--it's entirely customizable. But I understand the need for more direction when you're not used to sewing by the seat of your pants. Hay, maybe THAT should be my blog's name! :D
Thanks, Jen!
Thanks Mel! I have found that if I start with making something almost identical to the original pattern, then I can get the hang of the overall idea and the next ones I make tend to be more original. My next project I am going to work on is using the Charlie-bag pattern and adapting it to be used as a baby bag. I am going to try sewing several different pocket sizes on the inside and attach loops or hooks to hook little things on. I am also working on trying to develop/find an apron pattern.
Post a Comment