...it's insomnia. That's how I'm able to get things done these days. At least, that's how I'm able to blog about it! So, here are some things I've been up to over the last week or two.
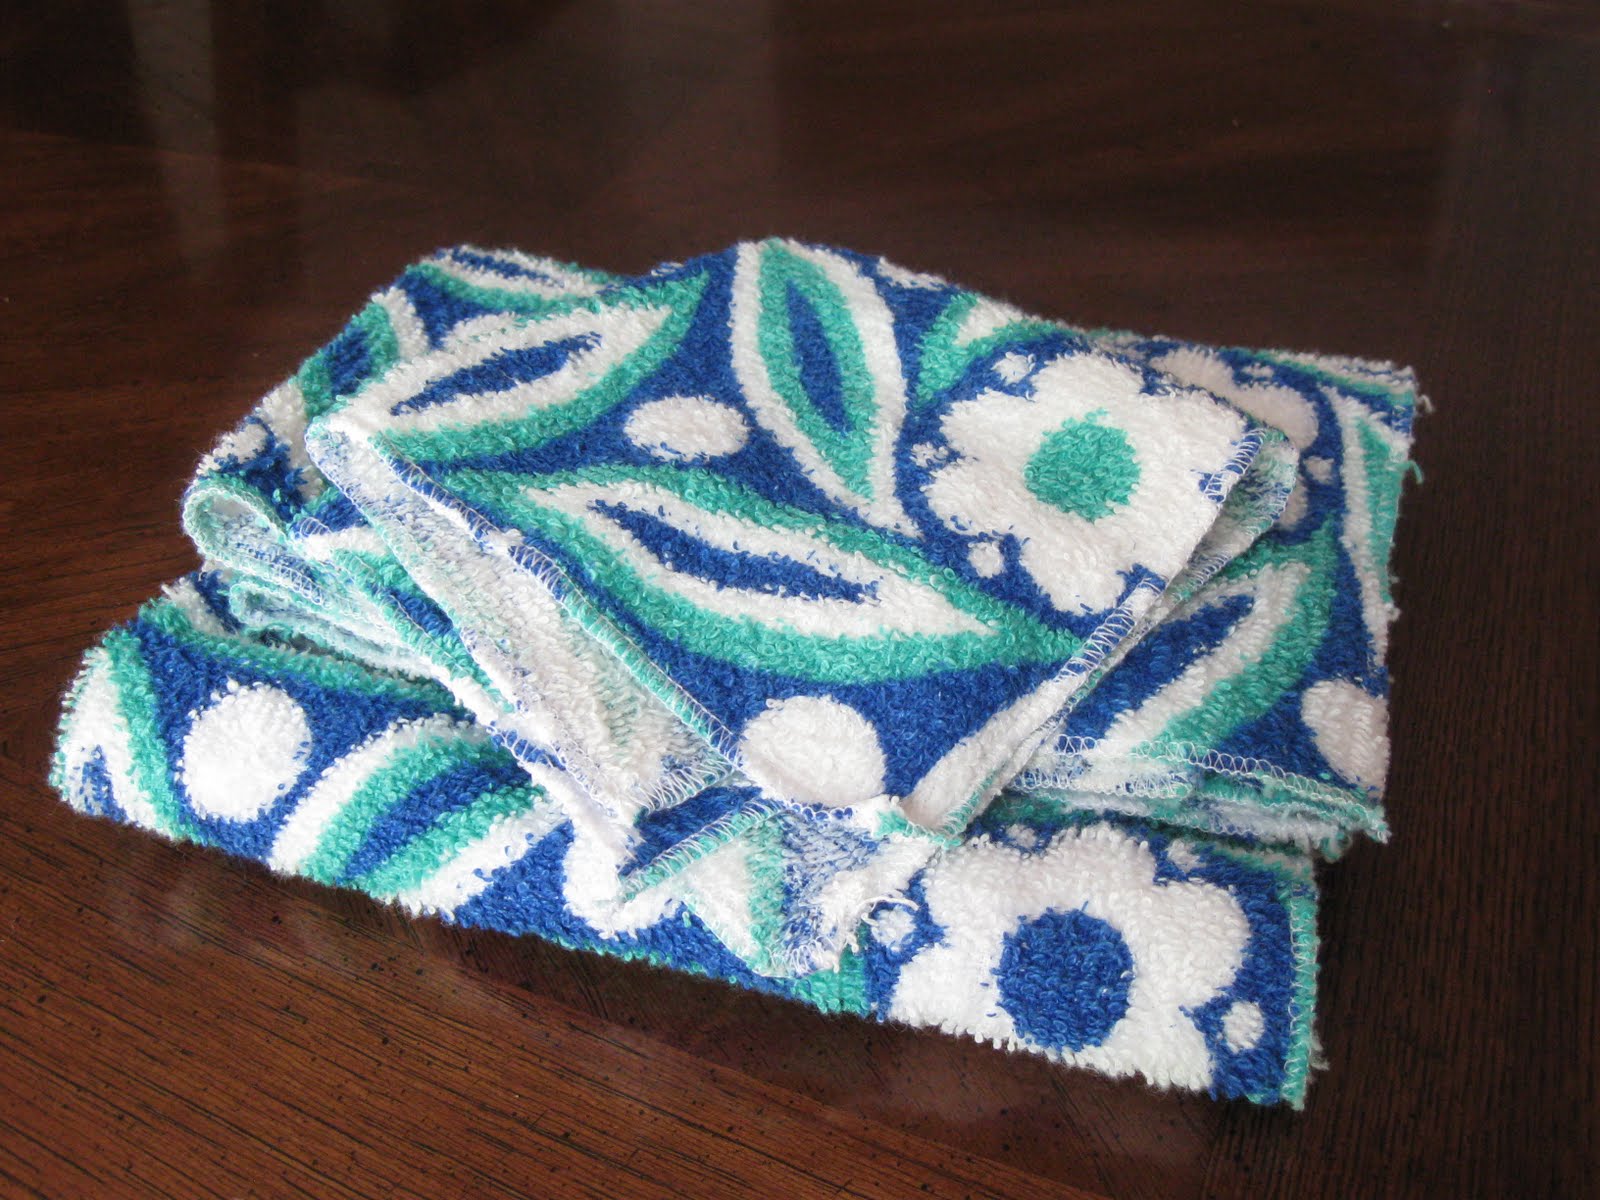
 I kept a pair of worn-out pj shorts that I LOVED and turned them into a pattern piece. To do this, cut them in half at the seam that runs down the front and up the back (where the good Lord split ya!). Since shorts are symmetrical, you only need to double layer the fabric, right OR wrong sides facing, cut out two mirror-image pieces of the same pattern piece, stitch them up the middle (right sides facing), sew the inseams together, and install a waist band. If you use the fabric's selvage as the bottom of the legs, you don't even have to finish the edges! A great use for stray pillowcases or worn-out sheets with a few good areas left. I have 2 pair and plan for many more.

I am just plain tickled with how this top turned out! A while back, I made standard front and back pattern pieces based off a dress that fit well, so there's no guessing at the right size when it comes to making a new top. I just use the pieces and alter them as desired. This fabric isn't stretchy, so to accommodate my need for easy breast exposure (ahem, I breastfeed, please remember!), I made the front about 5 inches wider in the middle and ran elastic thru the neckline. And because I think raw bra straps are tacky, I gave it wide straps that taper at the ends. And a pretty blue ribbon to match the tiny floral print, so that I don't look quite so pregnant (I'm not, btw). I LOVE it!
 I have trouble getting this pattern to fit right, but with enough altering, this dress finally did. And tiny sleeves, because arm fat needs a camouflage and I intend to wear this to church. Gifted fabric--free clothes! The undershirt underneath was $3 at Kohl's, but was also the pattern piece (by folding it in half) for the next two photos...
 As per the aforementioned public nudity (I'm being facetious--I assure you, I'm quite discreet) I was in dire need of undershirts with stretchy necklines. So I worked up a couple. The lacey scribbles are deliberately shabby-chic, and mainly for sleeping.
 I wear this one in public. The fabric is a little thicker than I'd like, but it's a good lumpy-belly-hider because it's not too tight.
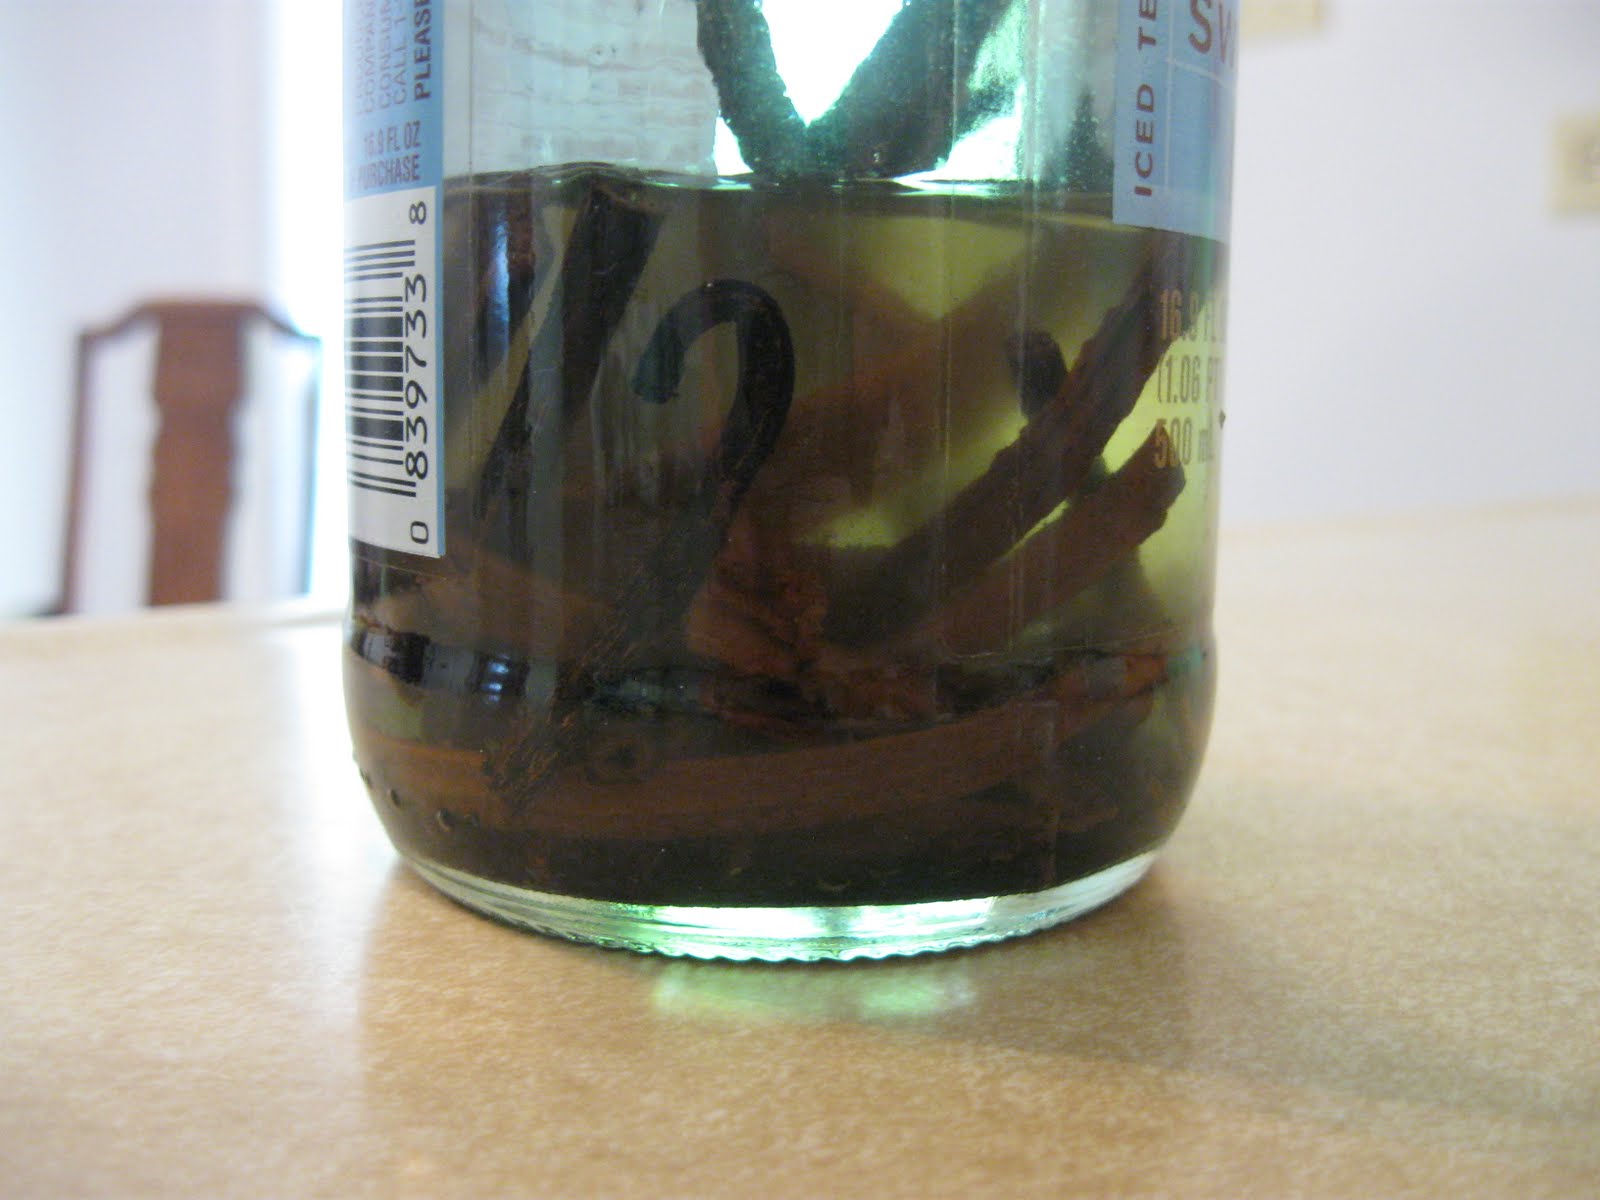
 I got an email from Etsy about herbs. The kind that are everywhere, so you don't realize what they are. I'm still looking for mugwort and a few other things, but I was very familiar with the first of the herbs they featured: plantain. Not the banana's cousin. I never even noticed it was anything other than grass because it's such a ubiquitous plant but there it was, everywhere I looked, when I looked for it! The short story: the juice in plantain is supposed to take the infection and pain out of bee stings, bug bites, cuts and scrapes. By now you're familiar with my feelings on free and natural stuff, so I've been cleaning out those little plastic shampoo bottles that jump into your luggage at hotels and making little bottles of plantain tincture. If it works, then I'll have nearly-free, natural "medicine" and facial astringent in a couple of weeks. If not, I'm out a few ounces of apple cider vinegar and I've de-cluttered a shelf in the bathroom closet. I think it will work, because when dh, f-i-l and I picked blackberries last weekend I got scratched up and stung, and it seemed to calm my irritated hands. But that could have been all in my head, so we'll see, when the tincture matures. You can follow one girl's adventures in plantain tincturing here. (Search "plantain". I couldn't get the direct hyperlink to work.) She's pretty enjoyable. I think you'll like her.
 This last thing is just a plain good idea. Not mine, but good nonetheless! It's like a seat belt, for a regular chair. I saw this done on a blog that belongs to a mom who is by far smarter and more talented than I, and I wish wish wish I could reference it but I have no idea who/where she is. So, if anybody knows, please leave a comment below!
 Because I couldn't find it, I had to come up with a design on my own. Little Miss happily modeled it for me here. It's like if you were to strap a diaper to a chair, and strap the kid in the diaper. It rolls up neatly and can be tied with the straps. I was going to put some sort of pocket on it to fold it into, but really, who has the time??
 Back view. I used D rings to secure it. (Don't buy those new--harvest them off of 25 cents thrift store belts!)
 For the front strap, which goes around the child and the chair, I used an O ring and a plastic clip that, I think, came off of a pair of snow pants. I would have used those plastic clips that are on stroller straps, but I didn't have any on hand.
 Here's my sketch, if that helps any.
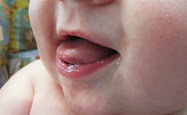
 And here's one of the three most important things I've been working on. See those 4 teeth?!?! They're SHARP! And I don't recall the other two biting quite so hard...
And now I'm off to potty train my two year old. I'm ready for only one kid to be able to cover me in poop. Wish me luck!
 I kept a pair of worn-out pj shorts that I LOVED and turned them into a pattern piece. To do this, cut them in half at the seam that runs down the front and up the back (where the good Lord split ya!). Since shorts are symmetrical, you only need to double layer the fabric, right OR wrong sides facing, cut out two mirror-image pieces of the same pattern piece, stitch them up the middle (right sides facing), sew the inseams together, and install a waist band. If you use the fabric's selvage as the bottom of the legs, you don't even have to finish the edges! A great use for stray pillowcases or worn-out sheets with a few good areas left. I have 2 pair and plan for many more.
I am just plain tickled with how this top turned out! A while back, I made standard front and back pattern pieces based off a dress that fit well, so there's no guessing at the right size when it comes to making a new top. I just use the pieces and alter them as desired. This fabric isn't stretchy, so to accommodate my need for easy breast exposure (ahem, I breastfeed, please remember!), I made the front about 5 inches wider in the middle and ran elastic thru the neckline. And because I think raw bra straps are tacky, I gave it wide straps that taper at the ends. And a pretty blue ribbon to match the tiny floral print, so that I don't look quite so pregnant (I'm not, btw). I LOVE it!
 I have trouble getting this pattern to fit right, but with enough altering, this dress finally did. And tiny sleeves, because arm fat needs a camouflage and I intend to wear this to church. Gifted fabric--free clothes! The undershirt underneath was $3 at Kohl's, but was also the pattern piece (by folding it in half) for the next two photos...
 As per the aforementioned public nudity (I'm being facetious--I assure you, I'm quite discreet) I was in dire need of undershirts with stretchy necklines. So I worked up a couple. The lacey scribbles are deliberately shabby-chic, and mainly for sleeping.
 I wear this one in public. The fabric is a little thicker than I'd like, but it's a good lumpy-belly-hider because it's not too tight.
 I got an email from Etsy about herbs. The kind that are everywhere, so you don't realize what they are. I'm still looking for mugwort and a few other things, but I was very familiar with the first of the herbs they featured: plantain. Not the banana's cousin. I never even noticed it was anything other than grass because it's such a ubiquitous plant but there it was, everywhere I looked, when I looked for it! The short story: the juice in plantain is supposed to take the infection and pain out of bee stings, bug bites, cuts and scrapes. By now you're familiar with my feelings on free and natural stuff, so I've been cleaning out those little plastic shampoo bottles that jump into your luggage at hotels and making little bottles of plantain tincture. If it works, then I'll have nearly-free, natural "medicine" and facial astringent in a couple of weeks. If not, I'm out a few ounces of apple cider vinegar and I've de-cluttered a shelf in the bathroom closet. I think it will work, because when dh, f-i-l and I picked blackberries last weekend I got scratched up and stung, and it seemed to calm my irritated hands. But that could have been all in my head, so we'll see, when the tincture matures. You can follow one girl's adventures in plantain tincturing here. (Search "plantain". I couldn't get the direct hyperlink to work.) She's pretty enjoyable. I think you'll like her.
  This last thing is just a plain good idea. Not mine, but good nonetheless! It's like a seat belt, for a regular chair. I saw this done on a blog that belongs to a mom who is by far smarter and more talented than I, and I wish wish wish I could reference it but I have no idea who/where she is. So, if anybody knows, please leave a comment below!
 Because I couldn't find it, I had to come up with a design on my own. Little Miss happily modeled it for me here. It's like if you were to strap a diaper to a chair, and strap the kid in the diaper. It rolls up neatly and can be tied with the straps. I was going to put some sort of pocket on it to fold it into, but really, who has the time??
 Back view. I used D rings to secure it. (Don't buy those new--harvest them off of 25 cents thrift store belts!)
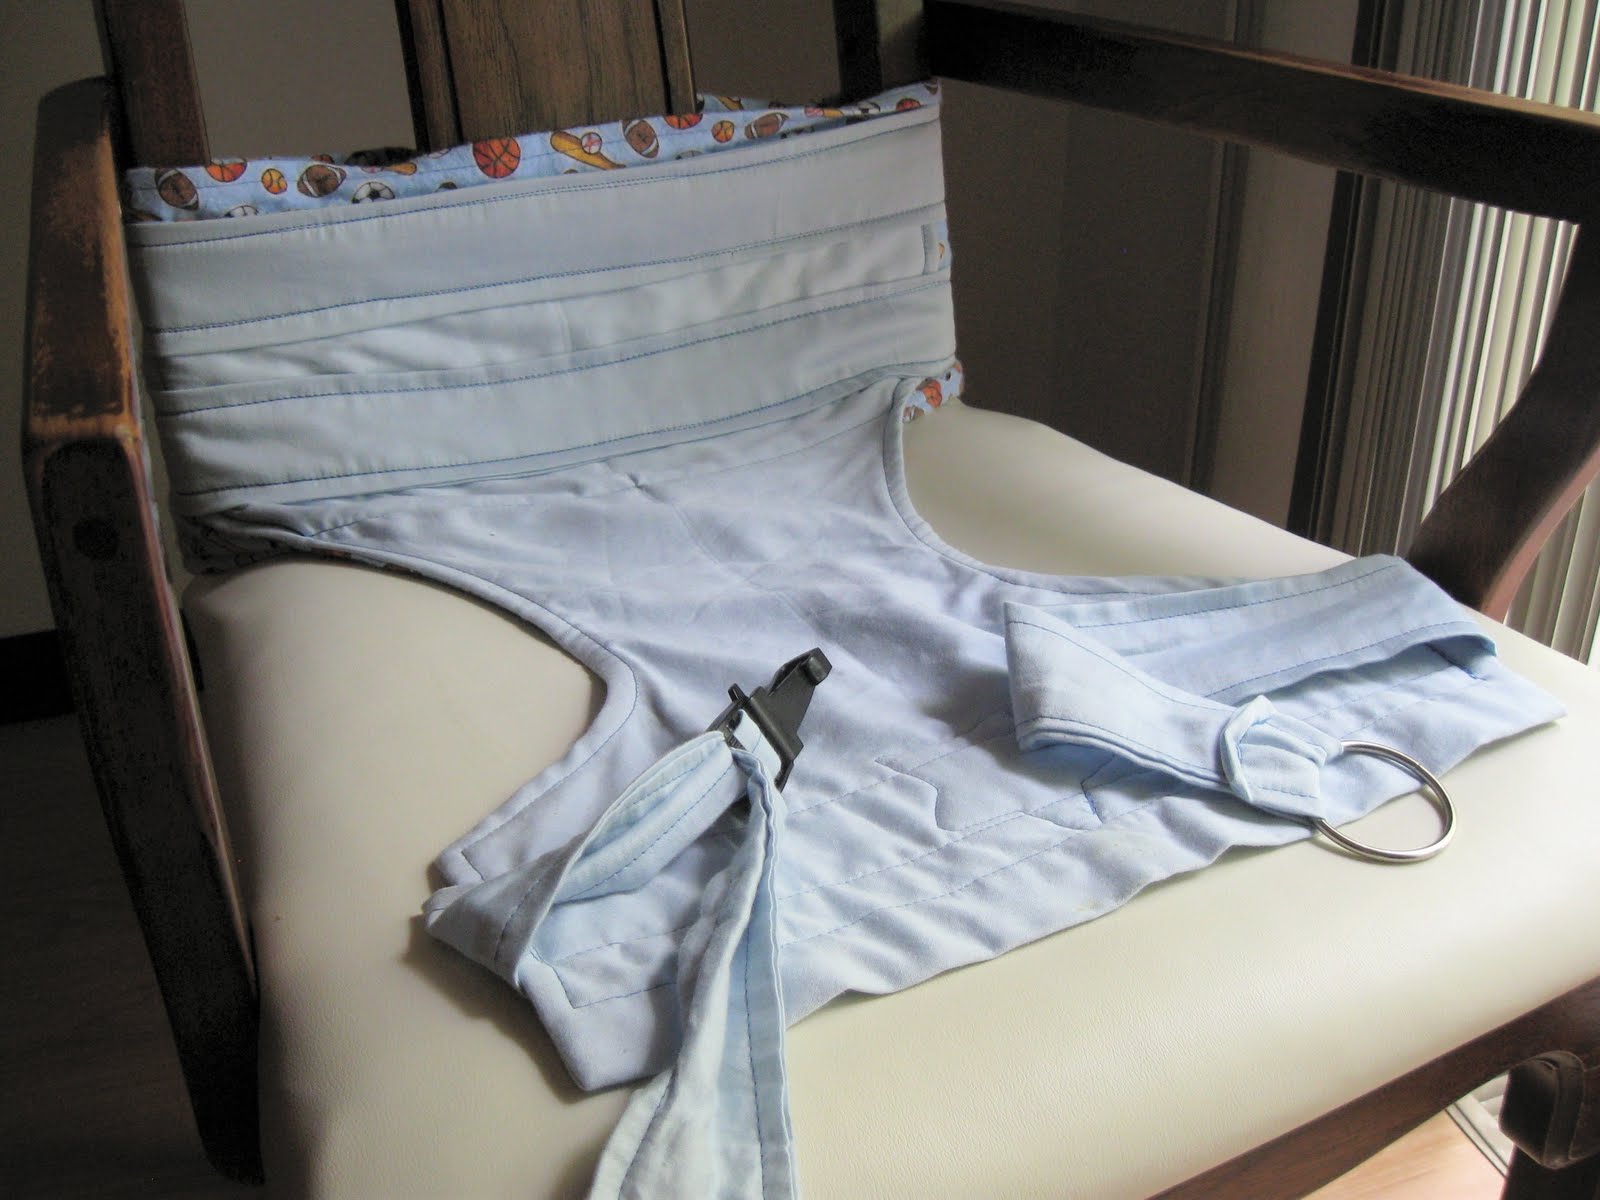 For the front strap, which goes around the child and the chair, I used an O ring and a plastic clip that, I think, came off of a pair of snow pants. I would have used those plastic clips that are on stroller straps, but I didn't have any on hand.
 Here's my sketch, if that helps any.
 And here's one of the three most important things I've been working on. See those 4 teeth?!?! They're SHARP! And I don't recall the other two biting quite so hard...
And now I'm off to potty train my two year old. I'm ready for only one kid to be able to cover me in poop. Wish me luck!